Splicing screen debugging method
Splicing screen debugging method
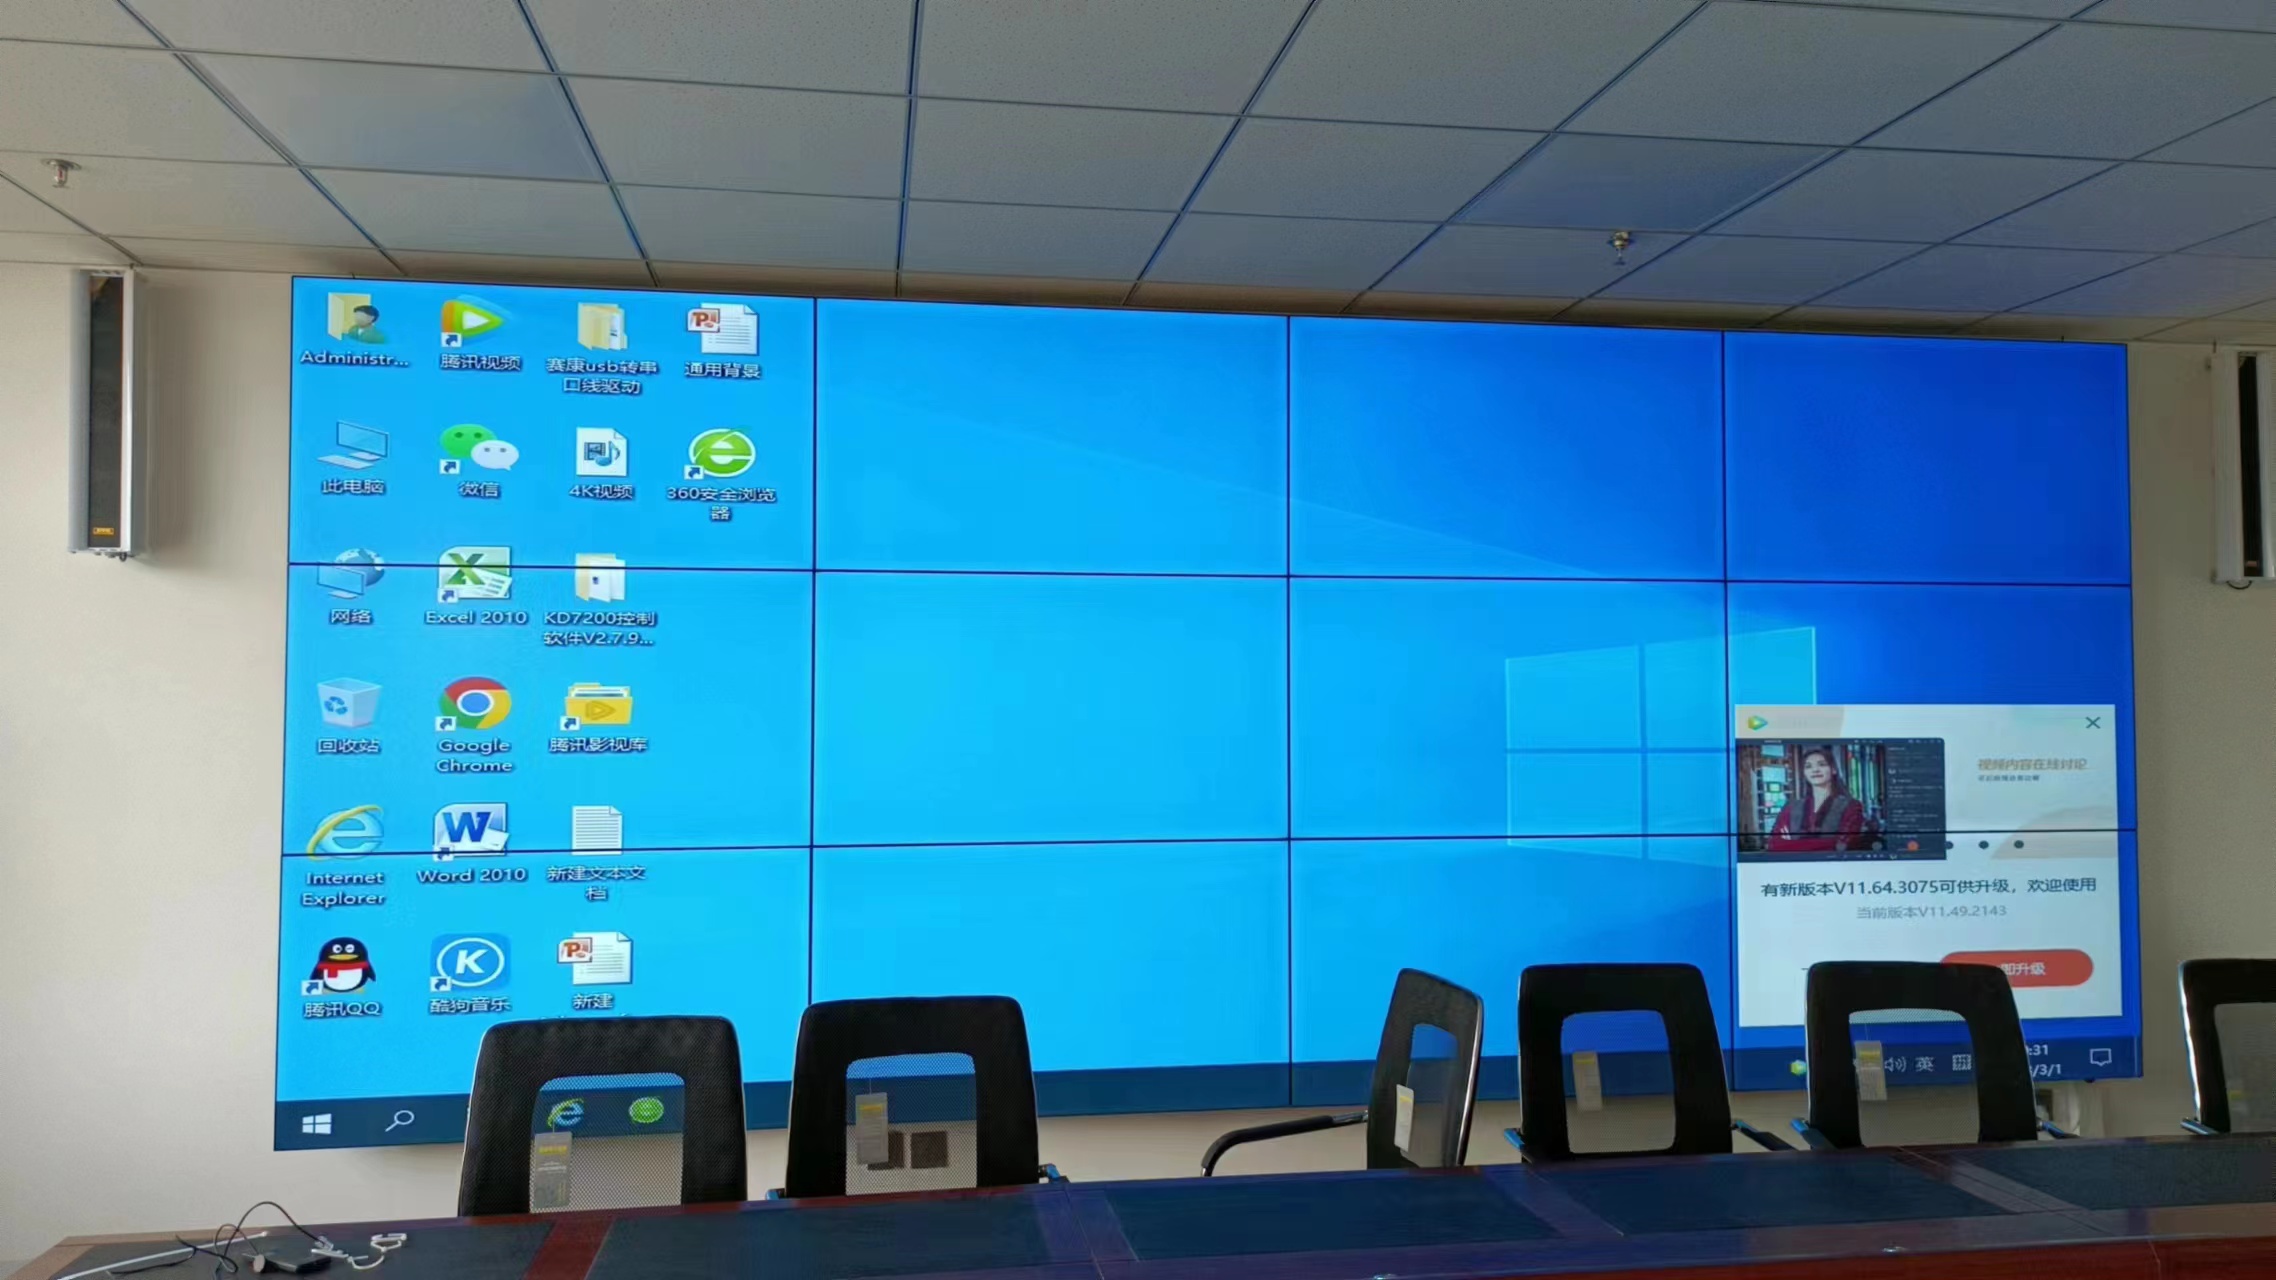
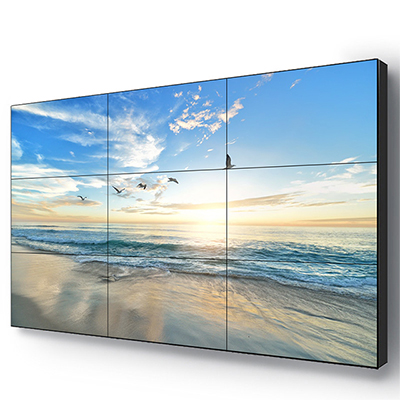
Everyone knows that LCD splicing screens are large-screen LCD display products composed of multiple LCD splicing units through electronic splicing technology. Relatively speaking, its installation is not very difficult, but the debugging after installation is a Very high-tech thing.
So, how to install and debug a complete LCD video wall product? Next, the editor of Touch Pai will tell you.
First, enter the advanced settings: click the "Advanced Settings" button, and enter the password "ABC.123" shown in dialog 2, which is the factory default password.
The following adjustment screen is displayed:
(1) "Check password at startup" means that the startup password of the control software can be set, that is, after clicking the "Start System" button, the interface of the control software can only be used after entering the password, and the default password is "000000";
(2) The items of "Smart Screen Extension" and "VGA Adjustment" must be valid in all modes of screen splicing, but invalid in the mode of "Automatic Video Distribution Status". This button can set the password of "Start System".
(3) "Memory startup mode" After selecting the memory startup mode, when starting the software system, it will automatically switch to the signal input or mode selection state selected when the control software is closed.
(4), "Start switching to AV, VGA or HDMI", select the selected signal input. When starting the software, the screen will switch to the selected signal screen.
(5), VGA splicing screen adjustment: (open the button first) VGA automatically adjusts and memorizes input channels: select one or more units, select VGA channel "1" in the input channel box, and then click the "Adjust" button to start automatic Adjust the selected LCD digital signage and wait for about 10 seconds to complete. It can automatically adjust each LCD splicing unit of the LCD splicing wall and the current image in large-screen mode to the best state.
(6) Adjust VGA channel "2" to "9" in the same way. Note: In the process of debugging each channel, if there is a left-right deviation in some screens, you must first select the unit, and then click the " " or "-" button of the clock. At this point, the image will move left and right, then click the "VGA Auto Adjustment" button, wait for the automatic adjustment, and finally click the "Manual Adjustment and Save" button. At the same time, the following settings can be used for auxiliary adjustments, such as the "horizontal shift, vertical shift, horizontal zoom, vertical zoom" button, click the "reset" button to restore it to its original state.
Through the above 6 steps, the performance debugging of the advertising screen is basically completed, and it can work normally.


