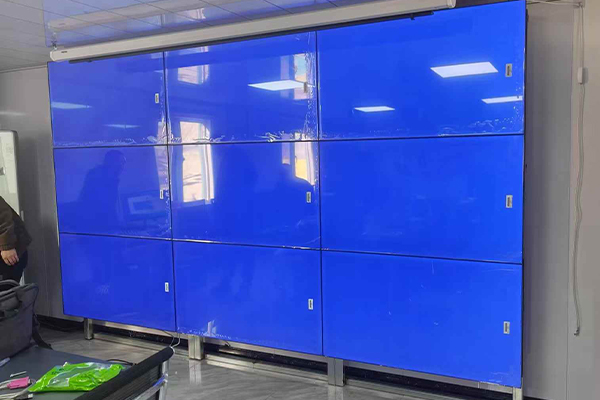
LCD splicing screen detailed installation tutorial
In order to ensure that the splicing screen can run stably and provide an excellent visual experience, the correct installation process is indispensable. The following is a detailed step-by-step diagram of the splicing installation, as well as some precautions during installation to help users better understand and maintain the equipment.
1. Preparation before installation
Before starting the installation, first make sure that the installation site meets all technical requirements, such as power supply, ground bearing capacity, and ambient temperature and humidity. Next, prepare the tools required for installation, such as screwdrivers, levels, tape measures, etc., and check whether all display units, brackets, and accessories are complete and undamaged.
2. Bracket construction
According to the size of the display wall and the splicing scheme, there are currently four splicing screen installation construction schemes, namely wall-mounted, floor-standing bracket, cabinet-type and front maintenance installation. The bracket is built according to the application site. The bracket needs to be stable and maintain an appropriate gap with the wall for future maintenance. Use a level ruler to ensure the level of the bracket to ensure the overall flatness after installation.
3. Assembly of spliced screen
Install the splicing screen units one by one to the designated position according to the layout of the bracket. Handle with care during operation to avoid damage to the display screen. When fixing the display screen with screws, pay attention to moderate force to prevent damage to the display screen due to over-tightening.
4. Connection of lines
After the spliced screen is installed, connect the power cord and signal line according to the wiring diagram. Make sure all connections are correct and properly manage the lines to avoid signal interference or safety hazards.
5. System debugging
Turn on the power and check whether each splicing screen unit starts normally. Use the control software to adjust the display wall to ensure seamless connection and no misalignment of the image. Adjust the display parameters such as color and brightness to achieve the best visual effect.
Follow the above steps, the installation of the splicing screen can be completed smoothly. Regular maintenance can not only extend the service life of the equipment, but also ensure that the display system is always in the best condition. I hope this installation diagram can help you better understand the installation process of the splicing screen, make your display system run more stably, and present a more excellent visual experience.

