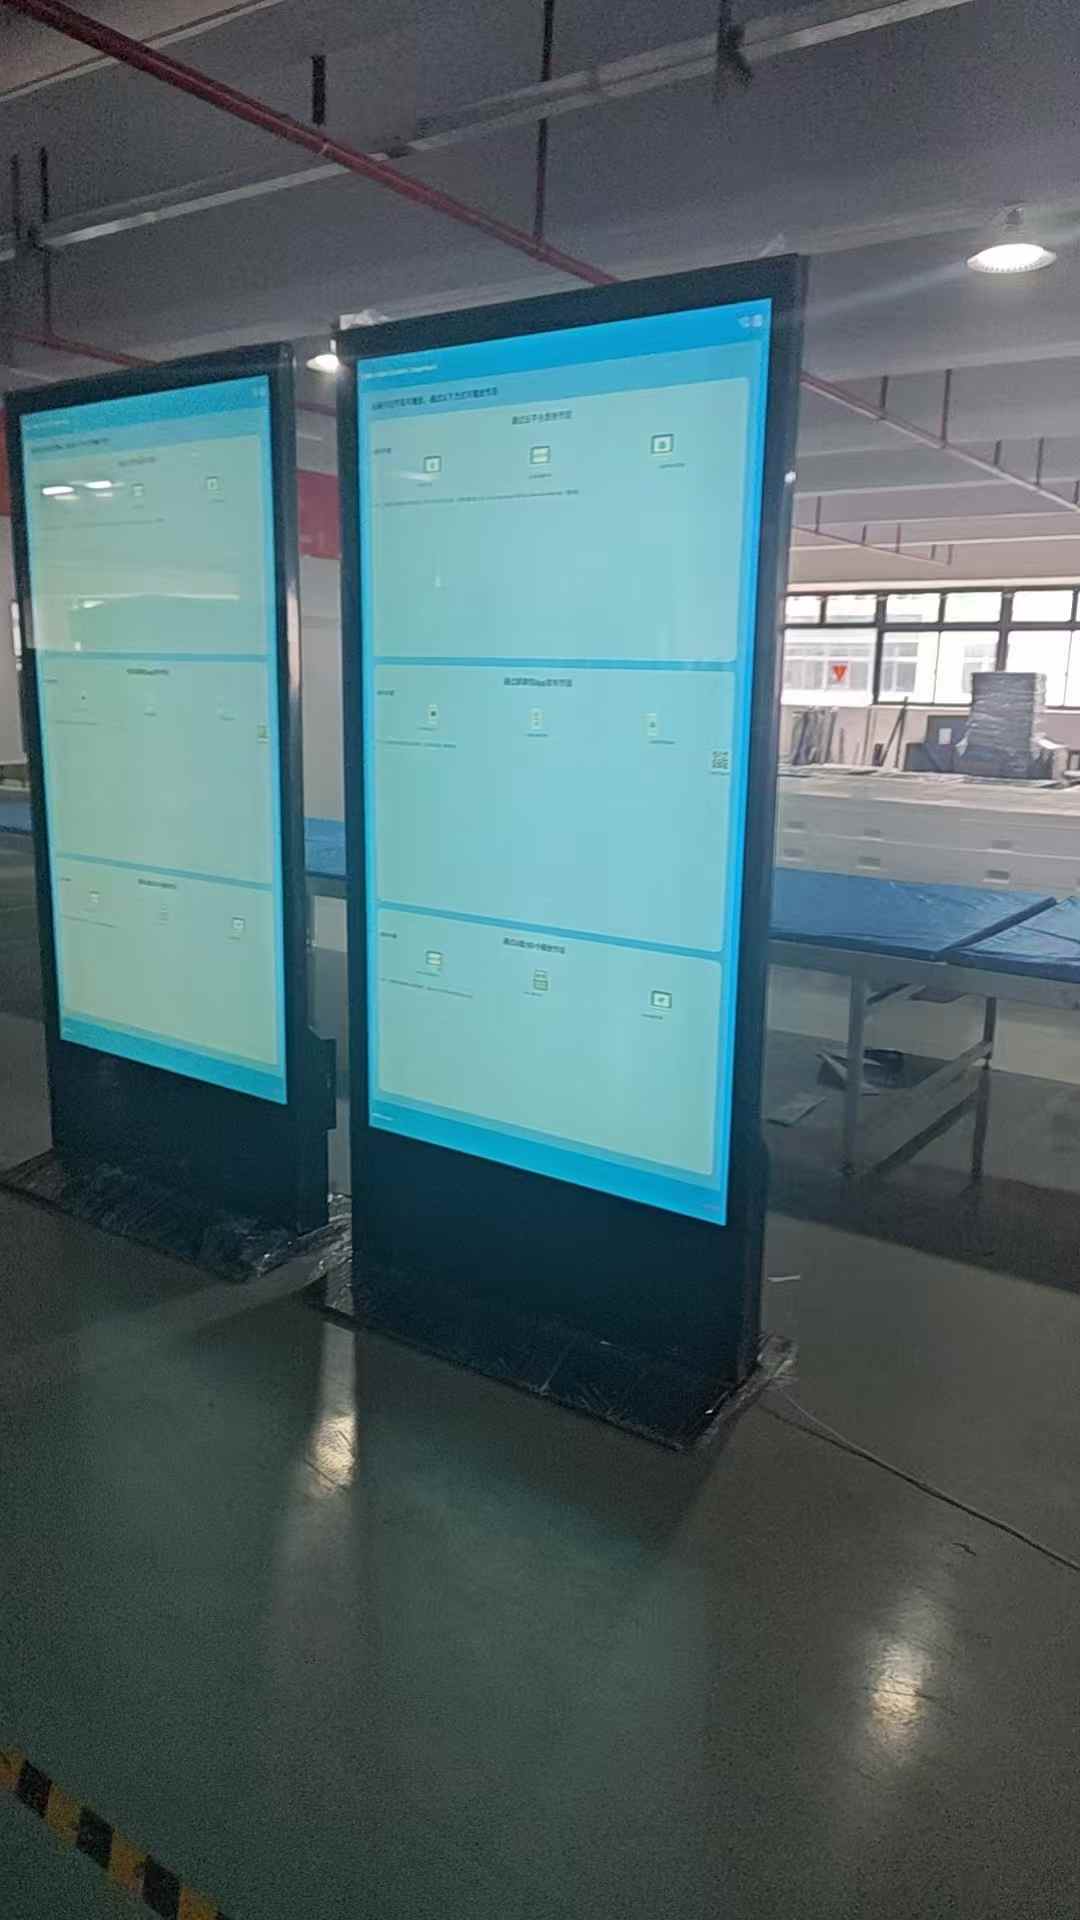
Usage and Installation Introduction of Vertical Advertising Machine
20-06-2025
In the era of booming digital marketing, vertical advertising machines have emerged as a powerful and flexible tool for businesses to convey information, promote products, and engage with audiences. These self - standing digital displays combine advanced technology with an eye - catching form factor, making them suitable for a wide range of applications, from shopping malls and airports to corporate lobbies and educational institutions. Understanding how to install and use vertical advertising machines correctly is crucial to maximizing their effectiveness and ensuring smooth operation. This article will provide a comprehensive guide to the installation process and usage methods of vertical advertising machines.
1. Pre - installation Preparation
1.1 Site Selection
The first and foremost step before installing vertical advertising machines is to select an appropriate installation site. Several factors need to be considered during this process. First, the location should have high foot traffic to ensure maximum visibility of the advertisements. For example, in a shopping mall, areas near entrances, exits, escalators, and popular storefronts are ideal. In an airport, baggage claim areas, departure lounges, and terminal corridors can attract a large number of viewers.
Secondly, the site should have a stable and level surface. Uneven floors can cause the advertising machine to wobble, which not only affects the visual experience but also poses a safety hazard. Additionally, it is important to ensure that the installation site has access to a reliable power source and network connection (if the machine requires internet access for content management). Avoid areas with excessive moisture, direct sunlight, or extreme temperature fluctuations, as these can damage the internal components of the advertising machine over time.
1.2 Gathering Tools and Equipment
Before starting the installation, gather all the necessary tools and equipment. Commonly required tools include a screwdriver set (both Phillips and flat - head), a wrench (if needed for tightening bolts), a level to ensure the machine is upright, and a measuring tape. In terms of equipment, check that the vertical advertising machine itself is complete with all its components, such as the display screen, stand, power cable, and any additional accessories like remote controls or mounting brackets.
2. Installation Process
2.1 Assembling the Stand
Most vertical advertising machines come with a separate stand that needs to be assembled. Start by laying out all the stand components on a clean and flat surface. Follow the step - by - step instructions in the user manual to connect the various parts. Usually, this involves attaching the base to the support poles using bolts and nuts. Use the appropriate wrench to tighten the bolts securely, but be careful not to overtighten, as this can damage the components.
After the basic structure of the stand is assembled, check its stability. Place the stand on the ground and gently push it from different directions to ensure it does not tip over easily. If the stand has adjustable feet, use them to level the stand on an uneven surface. Use a level tool to make sure the stand is perfectly vertical.
2.2 Mounting the Display Screen
Once the stand is assembled and stable, it's time to mount the display screen. Some vertical advertising machines have a simple clip - on or slide - in mechanism for attaching the screen to the stand, while others may require the use of screws. Align the mounting holes on the back of the display screen with the corresponding holes on the stand. Insert the screws through the holes and use a screwdriver to tighten them. Again, refer to the user manual for the correct torque specifications to avoid over - or under - tightening the screws.
Make sure the display screen is firmly attached to the stand and does not wobble. Check that all the cables, such as the power cable and any data cables for connecting to external devices, are properly routed and not pinched or damaged during the mounting process.
2.3 Connecting to Power and Network
After the display screen is securely mounted, connect the vertical advertising machine to a power source. Plug the power cable into the back of the machine and then into a grounded electrical outlet. Before turning on the machine, double - check that the power switch on the machine is in the “off” position.
If the advertising machine is designed to support network - based content management, connect it to the local area network (LAN) or Wi - Fi. For a wired connection, use an Ethernet cable to connect the machine's network port to a router or network switch. For a wireless connection, access the machine's settings menu (usually through the on - screen display or a remote control), select the Wi - Fi option, and enter the network password. Ensure that the network connection is stable and the machine can communicate with the content management server.
2.4 Initial Setup and Calibration
Once the machine is powered on and connected to the network (if applicable), perform the initial setup. This may include setting the date and time, selecting the language, and configuring display settings such as brightness, contrast, and resolution. Use the on - screen menu and the provided remote control or touch - screen interface (if available) to navigate through the setup options.
Calibrate the display to ensure accurate color reproduction and sharp visuals. Some machines may have an auto - calibration feature, while others require manual adjustment. Follow the calibration instructions in the user manual to fine - tune the display settings according to the ambient lighting conditions of the installation site.
Get the latest price? We'll respond as soon as possible(within 12 hours)

